Pages

Thursday, July 15, 2021

World at War 85 1st ed, by Lock 'n Load publishing


After years of sitting on the shelf, it was due time for this game to make a glorious return to the table. We own most of the 1st ed collection, and intend to play through the whole thing.

Its may 14, 1985, and the cold war just went hot. The Soviet 1st tank battalion is pushing through, and its objective is to capture the towns of Bergengipfel and Eisenbach. Anything else would stall the Soviet advance.


Initial deployment


The Soviets have 10 platoons of T-72's, plus the HQ. They also receive 4 HE artillery missions, and 1 smoke mission.


Soviet deployment


The Americans have Team Yankee defending and played by Zoey. It has 2 platoons and HQ of Abrams tanks, an ITV section, and an mechanised infantry pkatoon. They decide to forgo the smaller town, and instead concentrate their defense on the town of Eisenbach, with the ITV section positioned in a forest nearby, and one of the Abrams platoons stationed on a hill overlooking the town.


Us deployment


The initial Soviet push has the main part of their force (4 platoons and the hq) advancing down the middle, toward its first objective. To the north they have 2 platoons going around the hill, and 2 more pushing through the forest. To the south, 2 more platoons are going around the large hill, in order to get behind the enemy. This separation of their force is a risky move, as it can easily cause some elements to be out of command and stall. A bold move, but one I felt necessary, as the T-72 were poor at moving fire. Pushing the whole force through Bergengipfel and the forested hill to its north would make them easier targets, while denying them a fighting chance.


Aftermath of turn 1

The Soviet command calls for a smoke mission, and we badly misinterpret how this rule works. The 1st ed lacks most visual examples, and the wording lead us to believe that the smoke was not in the target hex and the adjacent hexes, but that it had a 6 hex radius around the target hex. Nevertheless the Abrams still could fire through the smoke with a penalty to hit, and the ITV section was blinded.

The Soviets push for the first objective and attempt moving fire from there, with 0 effect. The northern flank has the 4 platoons surrounding the ITV section, but unable to attack it due to poor moving fire. The southern flank has 2 tank platoons using the temporary blindness of the ITV section to cross between the two hills.


Aftermath of turn 2


The Soviet command orders 2 artillery strikes. One on the Abrams platoon on the hill, which does nothing, and the other on the ITV section in the forest. This one misses badly and manages to hit its own side, causing disruption in both platoons it hit.


The flanking move finally causes the Soviet tankers to lose contact with their HQ, and this causes the attack to lose momentum, which will in the end, along with the game's chit pull activation system cause them to fail their objective.


Turn 3


As the smoke starts to clear, the American crews start to knock out the Soviet tanks.


At some point the Soviet tankers finally get a grip on the situation, and knock out the Abrams platoon in town as well as the ITV section in the forest, while another artillery barrage manages to reduce the mech infantry in town to half its starting size, and pin them down.

The southern flanking platoons circle around the hill where the remaining Abrams platoon is.  


After a fierce firefight on the hill overlooking the other objective, the remaining Abrams platoon is knocked out. All it took was two turns of stationary fire from 2 platoons of T-72's at short range, all the while the Abrams platoon cleared out the enemy tanks from the other objective, and thinned out the ranks from the platoons attacking it, before going down itself.

That left the pinned down mech infantry platoon leaderless, and unable to move. The Soviets ran out of time to capture the second objective.


In the end, the US lost its command element, the ITV section and both Abrams platoons, and the Soviets lost 6 platoons, and had 2 more on the board reduced in size due to losses.


Thursday, July 1, 2021

Age of dogfights WWII -kickstarter preview gameplay part 6


Germany, autumn 1944. RAF bomber command is conducting night-time raids on German industry, in an effort to cripple the enemies war effort.

Target for tonight, a Krupp factory in Essen. The British have a squadron of 3 Lancaster bombers, and a Mosquito pathfinder flying ahead, at a lower altitude to mark their targets. The Germans are intercepting them with a pair of Me 262's, both flown by Aces.

We try out the bomber breakthrough variant instead of target bombing. We grossly misjudged the amount of time it will take the bombers to cross the map, even without lowering their altitude to gain more speed. In the future, we will have to experiment with diagonal flight paths across the map, or just use a double map instead.

We used the fuel counters for the jets, and estimated they used 4 fuel to find the bombers in the dark, and would need another 4 to return to base, leaving just 6 turns for their mission.

This was a good opportunity to try out the speed markers as well. These work with the same rules that were in the WWI game. Every turn, after finishing its move, each plane would place a marker with the number showing the number of movement steps it made. When a plane wants to shoot at its target, compare the two markers to the table, with the results being either "no change" if the speed difference is low enough, "lower the chances of hitting" if the difference is around 4-7, by switching from column A to column B (or suffering a -1 if already using column B, as we added for the defensive fire), or "unable to shoot" if the speed difference is 7+. This again has a similar table if the attacking plane is slower than the target as well.

We also added in night-time rules, as a simple -1 to hit for all participants. We might alter this in the future, to maybe be unable to shoot from 2d distance instead, or leave the -1 modifier just for the 2d distance. There could also be stuff like moonlight/cloudy night, searchlights, radar in planes like the Black widow etc.. The radar would most likely just ignore any penalties. But if the authors come out with official rules for nightfighters I will gladly use those as I'm sure those will be better.

Zoey's bombers forgot that flying in a formation would provide better protection with overlapping fields of fire. The Mosquito is also in a rush to avoid contact with the enemy. After turn 1 the British are almost at half of the board.

The jet aces both start on one side, at max altitude, zoom ahead, and try to position themselves for an easier attack run next turn.


This was easier said than done, as they started the game 4 levels higher than the bombers, they had to dive for 4, which made a mess of trying to approach the bombers.


After 2 turns the jets manage to get into favorable positions to strike. But our night-time -1 to hit, and the difference in speed, shifted their shooting from A column to B, caused both to miss. Luckily the return fire from the bombers was also all over the place, with -1 for the dark, and -1 from the speed difference (as defensive fire is already made with the B column, we thought it unfair that the bombers wouldn't be affected by the column shift, so we imposed a further -1 to hit instead).


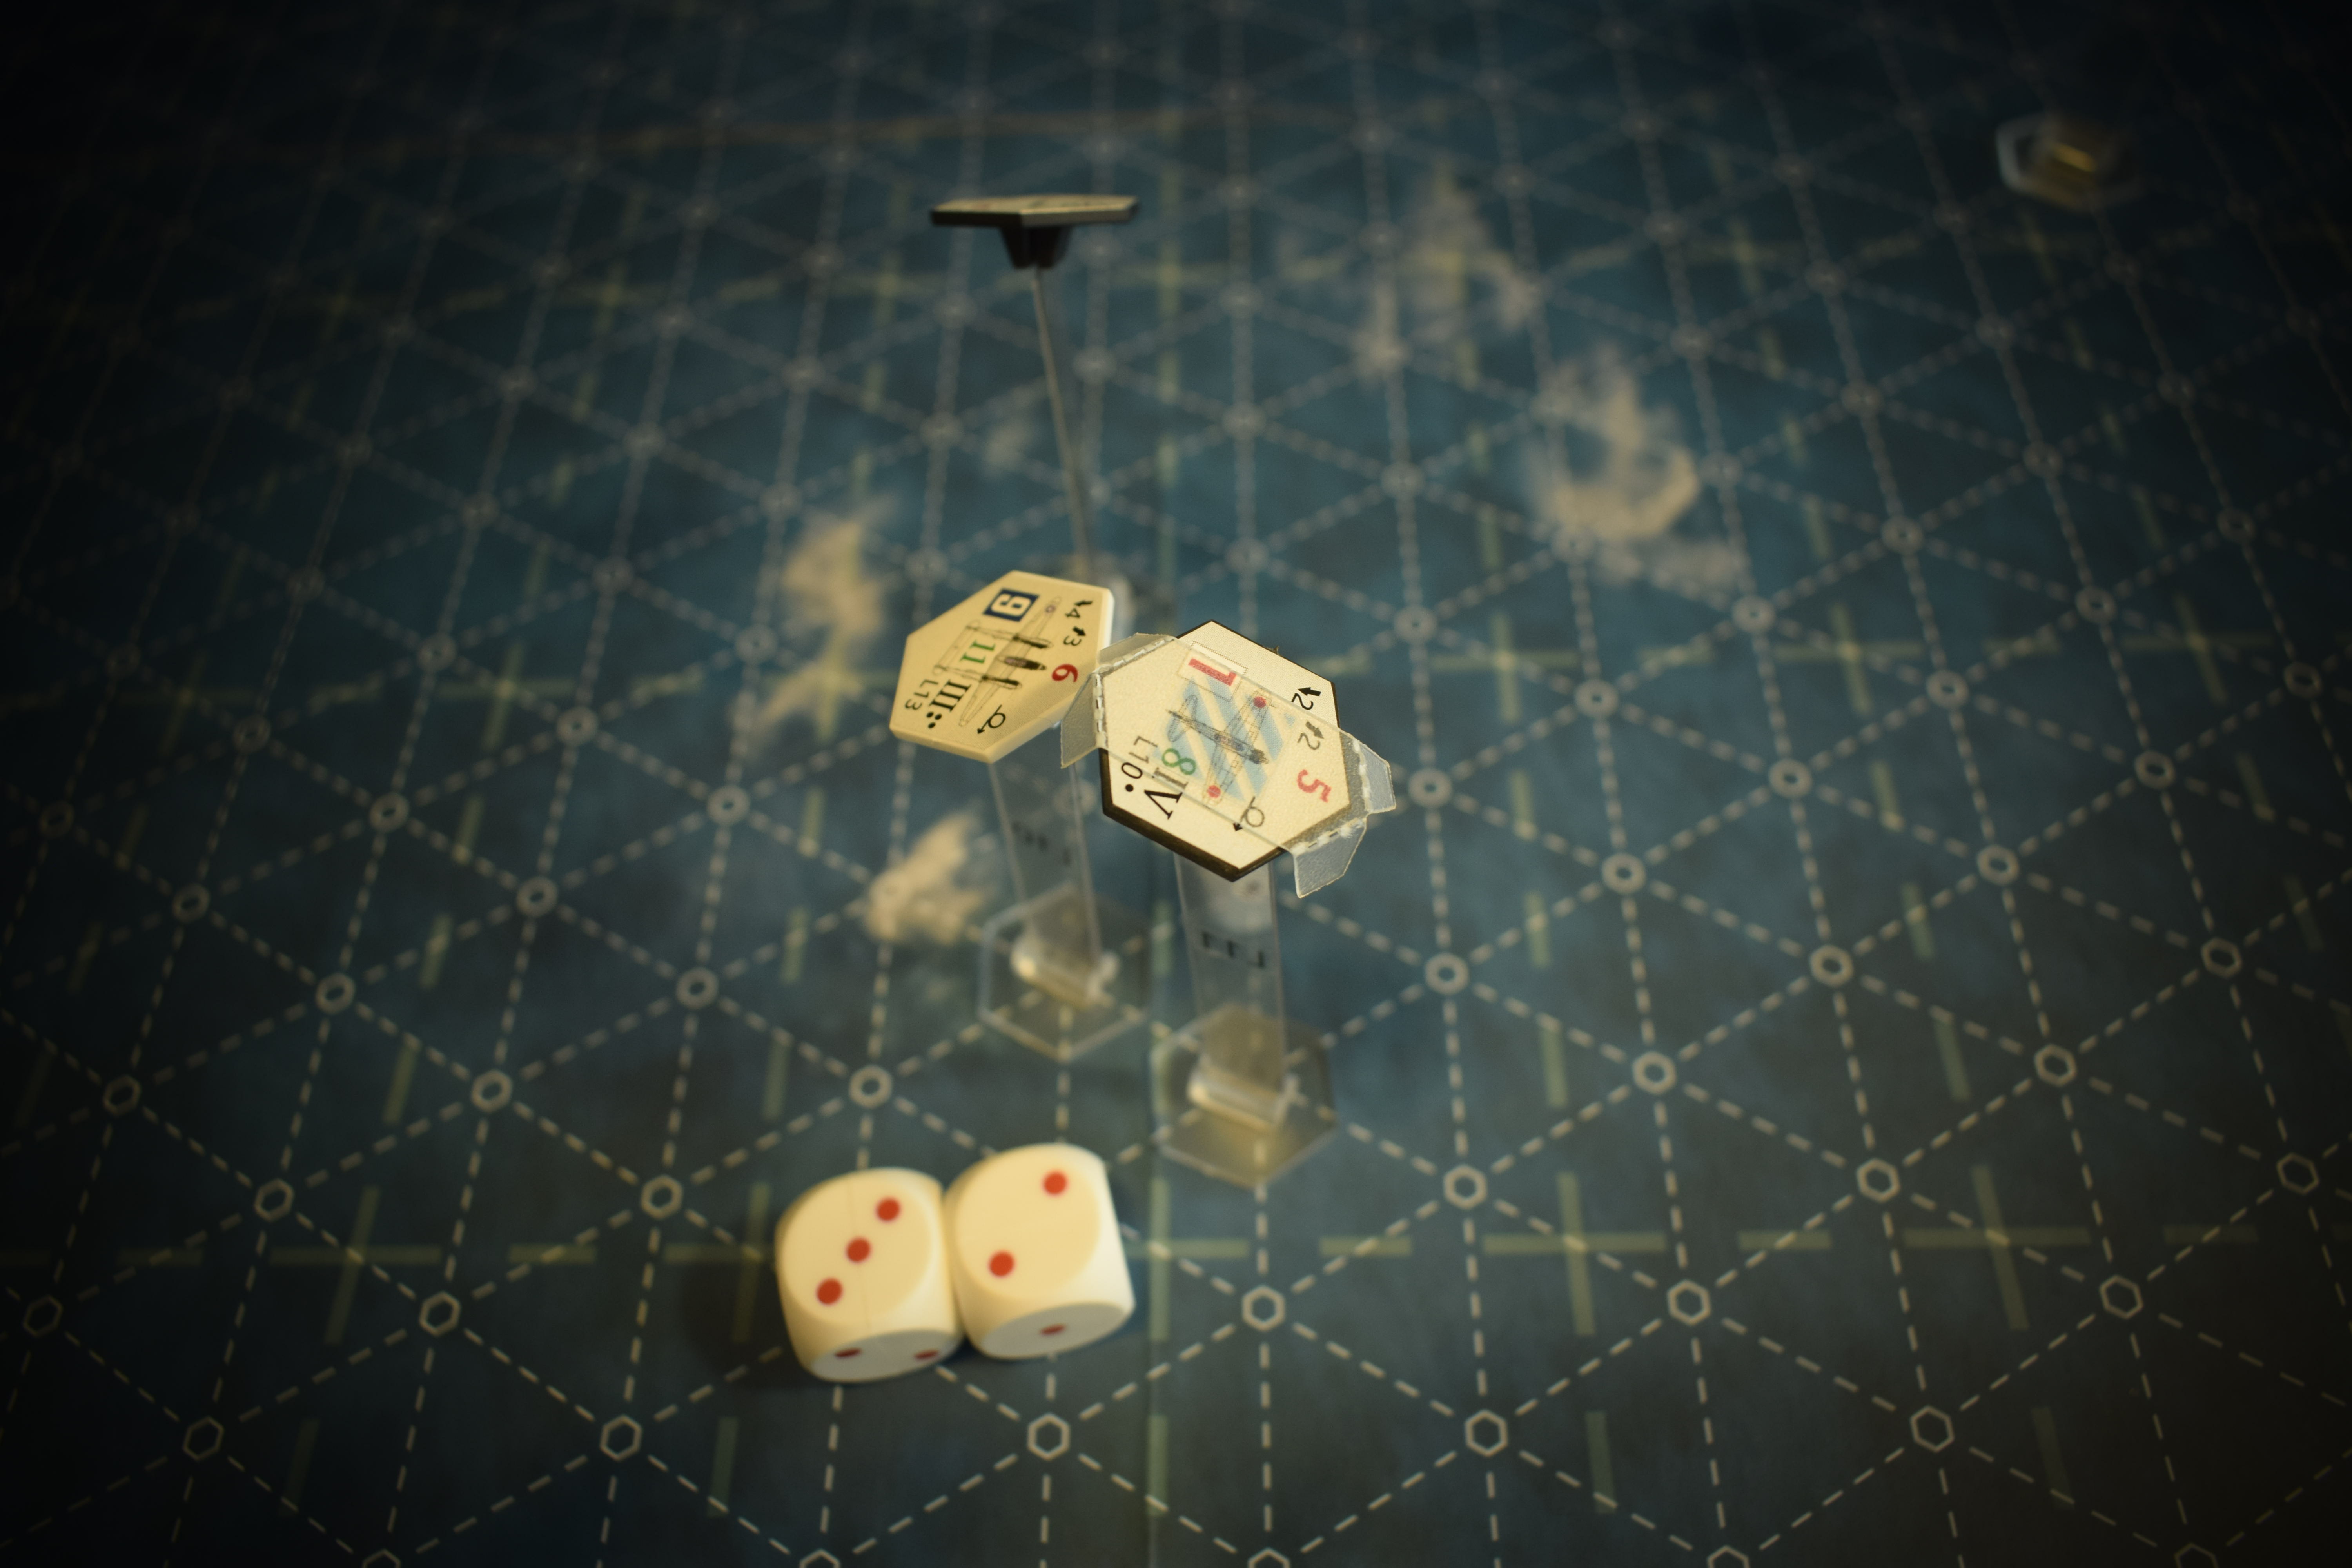
Turn 3, the jets are unable to maintain their positions, so, even with the slowest die, must switch positions with one another, and unfortunately one misses again. His bomber's defensive fire misses as well. But the other finally hits.


Its damage roll is more than enough to bring the bomber down.


Turn 4, the Mosquito is already long gone off the map, and the 2 surviving bombers now fly off the map and are out of reach of the interceptors. The jets head back to base.

We noticed that we need to change how we use the jets. Their speed and starting altitude difference only hindered them. Since the to hit modifiers already make enough of a difference when shooting, we might even skip using the rules for speed difference, or just use it for the bombers.

The mission should have been played diagonally across the board, that might have given a turn or two more for the bombers to get across. And the interceptors could arrive from a 90 degree angle, instead of the opposite board edge. That way it wouldn't have been as punishing for the interceptors to miss. But in retrospect we should have taken the Me 410 instead of the jets.  

Wednesday, June 30, 2021

Age of dogfights WWII -kickstarter preview gameplay part 5


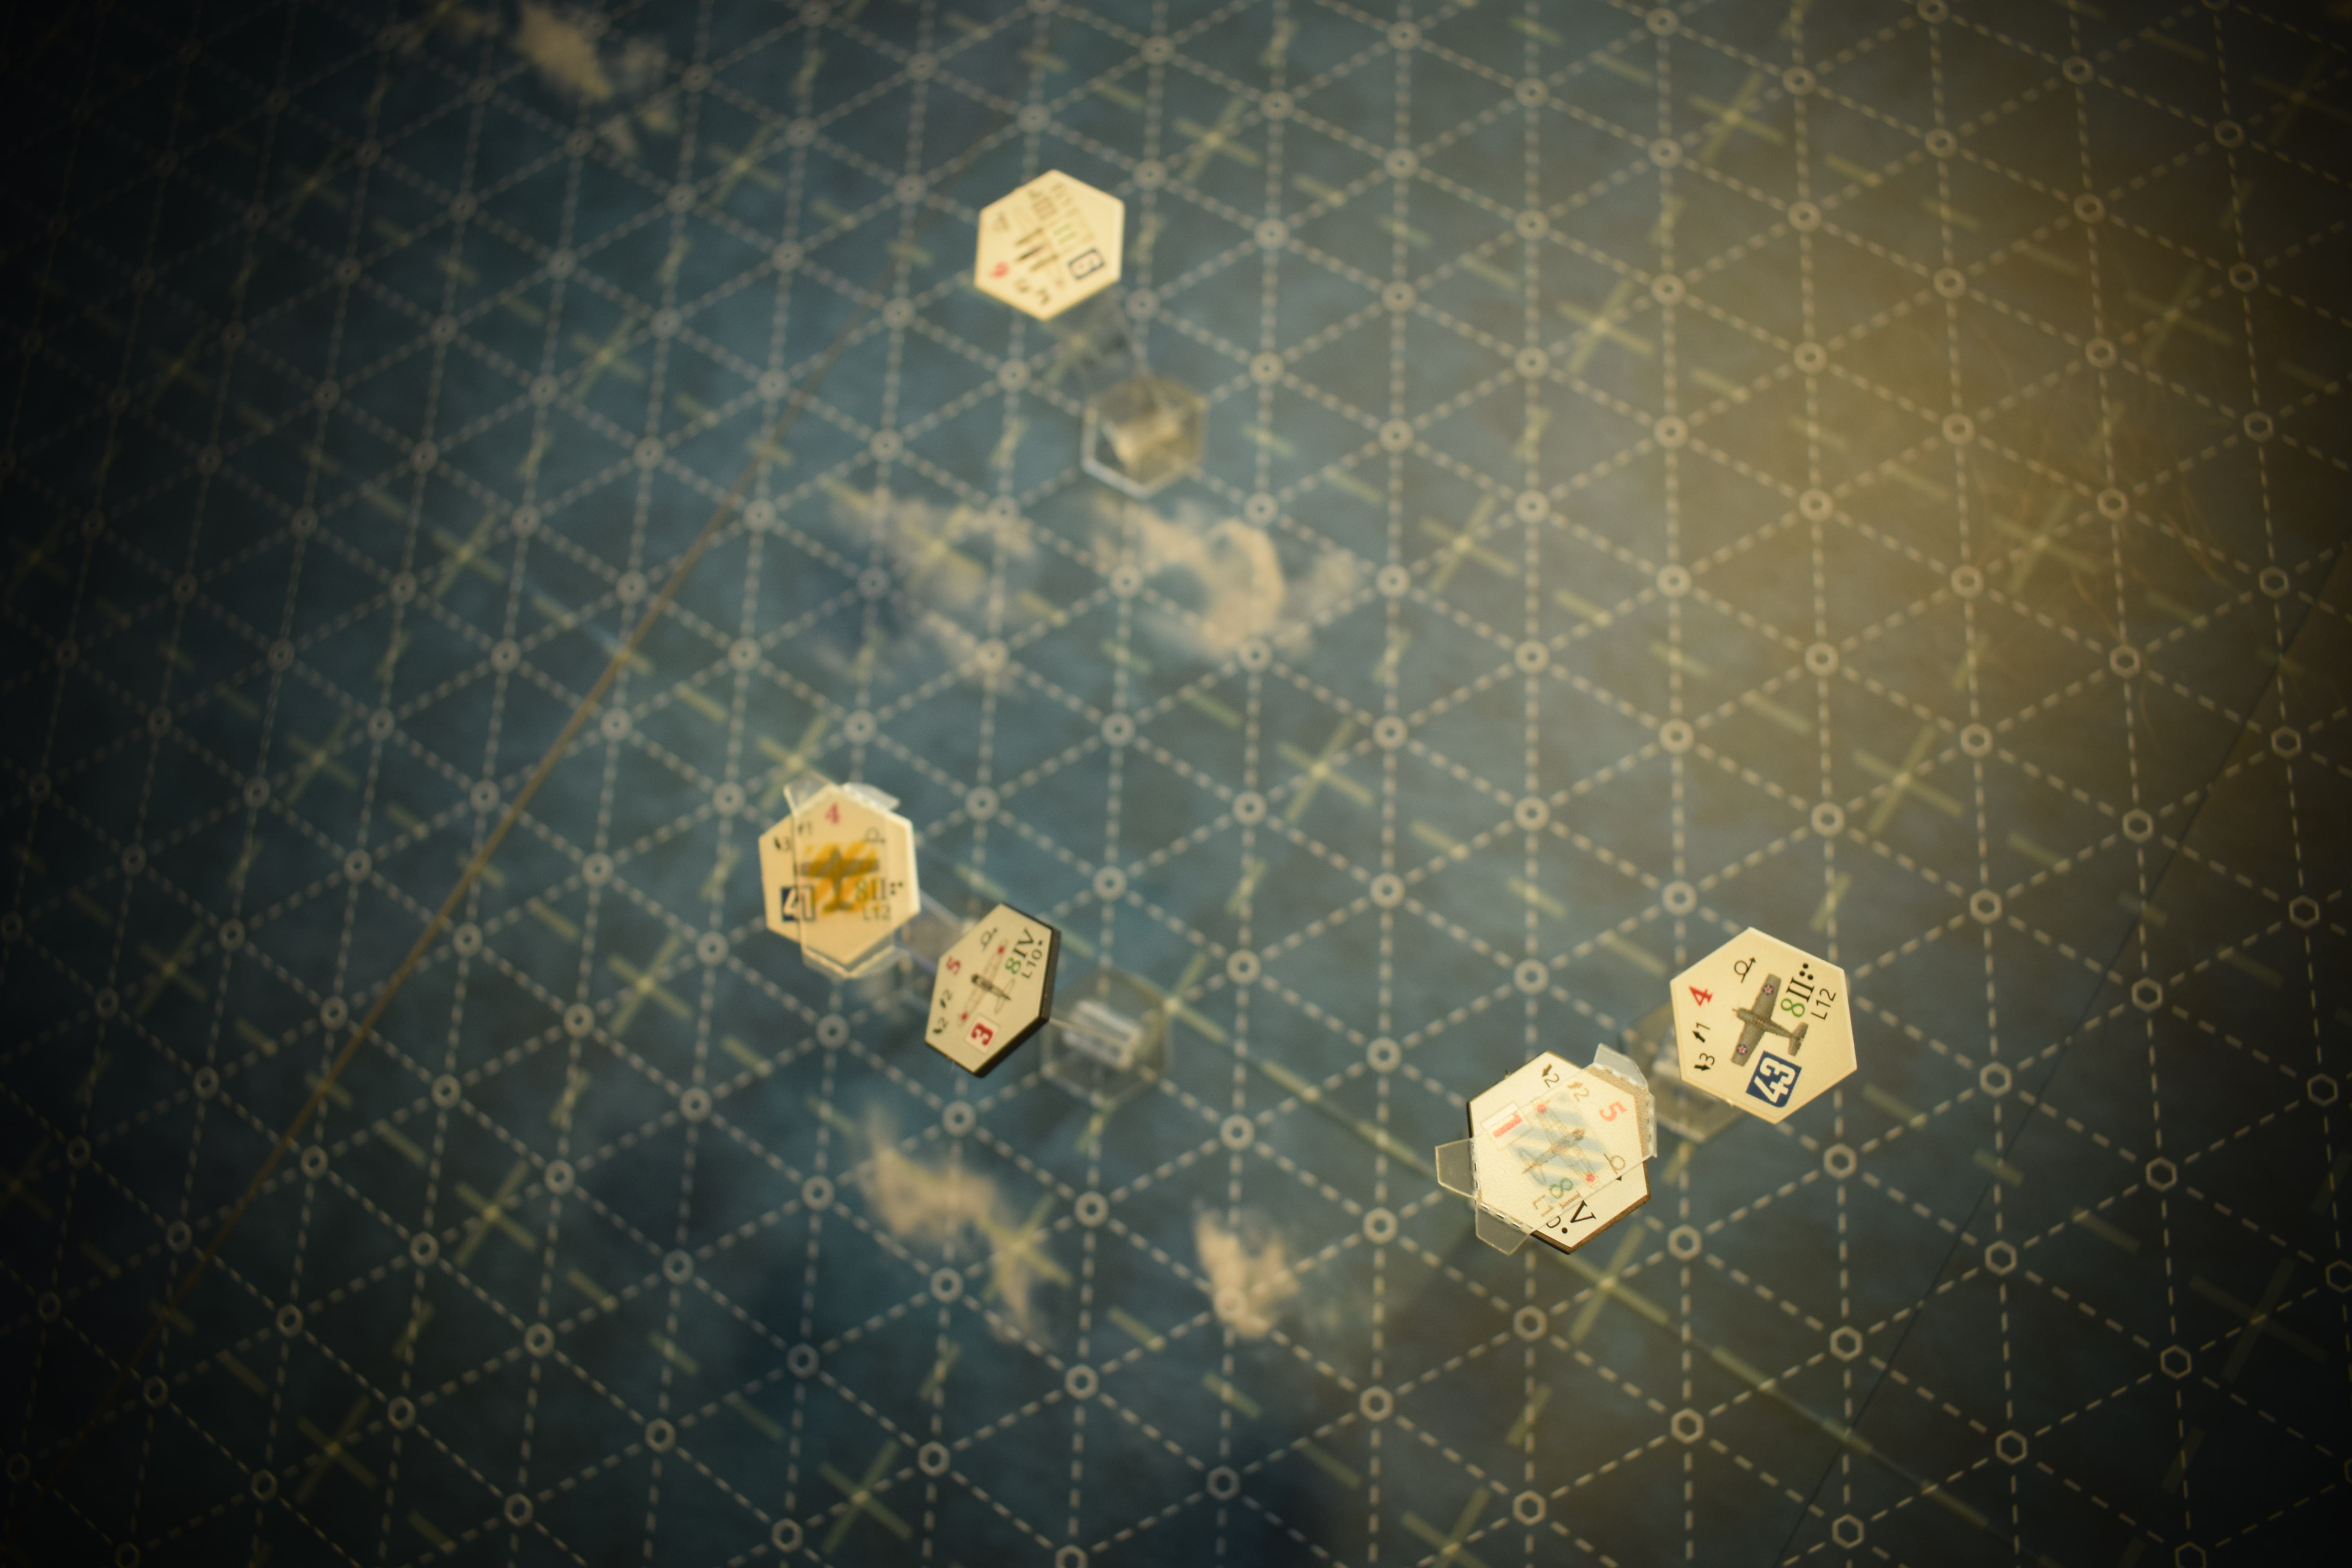
Winter 1942, somewhere over the Pacific ocean. A squadron of 3 A6M Zero's is on patrol, searching for any sign of the enemy fleet. Just when they were about to head home, the lead plane spots a trio of American fighters, as they come out of a cloud. Not being one to shy from battle, the lead Zero signals the rest of his squadron to follow him as he engages the enemy.

The American squadron is comprised of 2 F4F Wildcats, and 1 P38 Lightning. 

There were no aces or rookies involved. 

Upon spotting the enemy, the American squadron breaks up its tight formation, as one of the Wildcats decides to try and flank the enemies.


As they converge, the fighters pair off with their selected opponents. One of the Wildcats has engine trouble and lags behind his allies, as his overconfident opponent misses his chance to get into a favorable position to strike. 

The flanking Wildcat surprises an enemy plane, and riddles its wings with bullet holes. My luck from the previous game is still with me.

The Lightning, with its mighty engine, needed to make a few manoeuvres in order to line up a decent angle on its selected target, but manages to hit it, and causes enough damage for the Zero to go down in flames. 


Zero #3 , who previously overshot his target, decides to switch places with his wingman, and goes after the flanking Wildcat. He only manages to damage its rudder, but as it turns out, it was enough to make that cat useless by reducing its II agility to only I.

Zero #1, with its damaged wings goes after the straggling Wildcat, and scores a lucky hit that brings the poor cat down in the drink. 


The Lightning swoops in behind the #1 Zero and brings it down with concentrated fire. Meanwhile, the crippled cat is barely able to turn with its agility I, and heads back to its carrier.


That just leaves Zero #3 and the Lightning. The Zero tries to chase after the crippled plane but after witnessing the twin-engined American down two of his wingmen on his own, decides to head for home and report back to command.

The Lightning lets him go, as they haven't spotted the US fleet, his primary concern being the crippled plane he needs to escort back to safety.

We just love these short games, they were all around 5-6 turns. I'm thinking we should leave the fuel counters for larger games with at least a dozen planes per side. Also I'll most likely make a campaign set in the Pacific when the expansion comes out. I've been waiting for a long time to get some PTO aerial games going, and this fits perfectly. I just hope there will be a couple of double sided map extensions to give us some islands, and  a coastline to fight over. As I mentioned in my general overview of the game, just one double sided map section would provide some much needed variety for this map, and along with a snow/desert tri-section double map would make for a fine expansion. Just add a couple of extra ship/target/point markers.  
 

Age of dogfights WWII -kickstarter preview gameplay part 4


January 1945, the battle in the Ardennes is in full swing. Both sides have been struggling with supply and ammo shortages on the ground for a while, but due to poor weather neither side could send planes to assist. Than one day, the weather started to clear. So much, in fact, that apparently the snow melted away. That's the reason we're using this map, and not the fact that a winter map isn't available.

The Americans send their transport planes to drop supplies to the troops on the ground, and divert a squadron of P-47 Thunderbolts (4) to provide cover against any German fighters they are likely to encounter. The Germans, not wanting their enemies to receive the much needed supplies send a squadron of Fw 190 fighters (4).

Since the Germans were struggling in the previous games, we decided that they would have 1 Ace pilot among them, and the rest would be regulars, while we gave the Americans 1 rookie and 3 regulars.

The Germans start off in a tight formation, forcing the Americans to not spread their planes too much. There are no special rules for this, just fly the planes close together. The randomness of the movement dice makes it difficult to stay in formation, so we may come up with a house rule for this sort of thing in the future. 


The Thunderbolts start separate from one another, but soon start forming up on their leader.


Zoey figured out that I was protecting my planes like this, so she groups up the Thunderbolts. One Jug flanks the Würger's, as Zoey likes all her planes to have a chance to shoot at something every turn. 


Why have a big map when you can play everything in the middle..

The flanking Jug misses.


Both #6 and #8 miss their marks. #5 is the rookie who wasn't able to get into a position to fire as well.


The 190's split up at this point. #6 and 8 go after the flanking Jug. 


Numbers 5 and 7 swing around and have a go at the trio of Jugs, with the rookie Thunderbolt pilot presenting itself on a silver (chrome?) plate for the German. 


Number 8 misses, and just as we think the Germans misfortune in dice rolling is incurable, number 6 hits his target. 


Both #5 and #7 miss by a small margin. Shame, as both were in a good spot, and had decent odds of success.


190 number 6 had an itchy trigger finger, so his target turns into a ball of fire as it plummets down to earth.


With their target gone, this pair of 190's can shift their focus on the main group of Jugs.


Thunderbolts 5 and 8 have a go at the same enemy plane, but they both miss.


The Germans circle around to better firing positions. 


All 3 German planes hit their targets. We might add more d6's so that we can show more hits on camera at the same time.


Two Thunderbolts go down, with only the rookie remaining.


The lone American pilot doesn't like his odds of surviving alone against a whole squadron of enemies, so he turns tail and heads for home. The Germans are having none of that, being tired of their poor dice rolls from all the previous games, so the whole squadron gives chase.


They catch up to their prey, just as he was about to make his escape. Just one of the Germans barely makes the shot, in all their eagerness to finish off their foe.


Content that they again rule the skies (or at least this part of the skies) the victorious Würger's tip their wings to the troops on the ground, and head back to base.

The butcher birds really proved why they got their nickname. We both enjoyed formation flying, that we plan on adding another squadron per player in the following games. It shows how well the game system handles multiple craft at the same time.

This game showed us that the Demo set lacks a few more extra flight stands for each height level, but I'm sure the final release will have more provided. 

As no planes were damaged before being shot down, we still feel the damage table should be at least 13+ for a destroyed result. This is easily house ruled if the final release stays with 11+.

Tuesday, June 29, 2021

Age of dogfights WWII -kickstarter preview gameplay part 3


Mid-September 1940, southern England.

The radar pick up an approaching group of enemy fighters. Raf fighter command responds with a squadron of its own. 

The British are defending with 4 Spitfires, and the Germans are attacking with 4 Me 109's.

Since playing the previous game we received a wip version of the rules. Most important explanations included are for the sharp turn and some of the modifiers for shooting (as there might be more in the final version of the game).

We were using the fuel counters, and improvised the amounts of fuel the planes used to reach the battle, as well as the amount they will need to return home. The Germans would have a much shorter time available, and would need to be much more aggressive in their tactics than the British. Also the new tilts are now being used every game.

Both sides had 1 Ace pilot, 1 rookie, and 2 regular ones. The aces provided a +1 to hit modifier while the rookies suffered a -1 penalty to hit. Not sure if that's the way they will work in the final version, its just how we added some more friction to the game.

Both sides started with each plane separated from the others in order to use up a larger part of the map with just a few models. In the following two gameplays I start using formations for my squadrons thus forcing Zoey to form up with her planes as well. 


The combatants slowly approach each other. The German 109 Ace (#1) throttles his engine up to have a go at a Spitfire.


No such luck, and the Ace misses his target completely.


The British Ace recognizes the markings of the German Ace and diverts his attention to this perceived greater threat. He fires a few shots, but with little effect.


Spitfires #3 and #4 get into position to fire at 109 #2.


109 #3 tries to shake off Spit #2 from its tail.


The Spit Ace fires at the 109 Ace, but misses.


#2 scores a solid hit on 109 #3.


109 #2 is in a tight spot now...


..and pull a disappearing act on his foes. The one with a burning ball of fire falling to the ground.


#3 109 gets a weapon damaged result. His shooting from now on will be with a halved firepower factor.


#4 109 is a rookie, so this roll misses his target.


The German Ace rushes to assist his damaged comrade. His shot finds its mark, but again, with little effect.


The Ace tries and tries again, but he just doesn't have any luck today.


Numbers 3 and 4 are also out of luck.


This marks the beginning of the end for the Germans. Number 2 Spit finally downs the damaged German plane.
 

Number 3 also hits its mark.


This is just an average roll for Zoey, but more than enough to down 109 #4. 


After losing his whole squadron, the German Ace decides to head for home. The whole British squadron is just too much for him to handle on his own. And with his luck, he's lucky to even make it off the board.

Final score is 3-0 for the British. 

The game lasted no more than 5-6 turns, so the fuel counters haven't had a chance to send someone home. 
The modifiers for shooting make all the difference, as now even Zoey can't auto-hit anything. 

This Battle of Britain was a load of fun, and we can't wait for the actual expansion for it to come out. I suspect I will be making a campaign for the battle, with linked scenarios, experience and a few narrative elements not present in the game.